Why Do Die-Cut Tapes Fall Off So Quickly? 7 Common Causes and Professional Solutions
As someone who has handled numerous customer complaints about tape failure, I understand how frustrating it can be when a small tape issue halts an entire production line. Through years of experience, I’ve summarized the seven most common causes of die-cut tape failure and their solutions to help you resolve these issues for good.
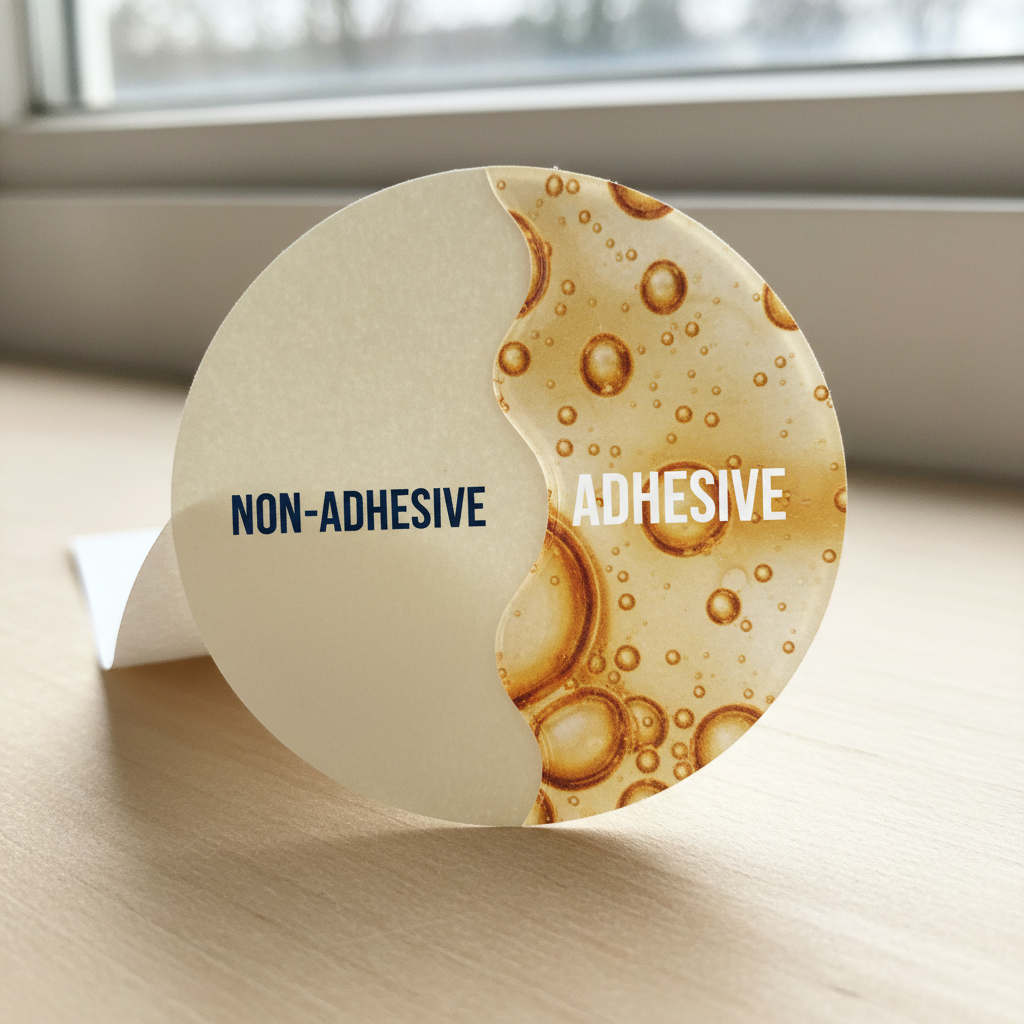
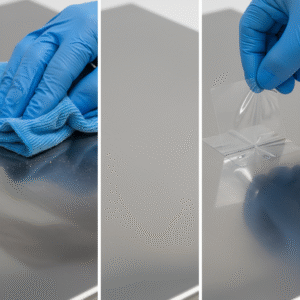
1. Inadequate Surface Cleaning
The Problem:
Even surfaces that feel smooth to the touch are often covered with invisible fingerprints, dust, oil, or release agents. These contaminants act as a barrier, preventing the tape from making proper molecular contact with the substrate. For example, I once encountered a case where silicone release agent residue from a new mold caused an entire batch of automotive emblems to fail.
The Solution:
Thoroughly clean the bonding surface with high-purity isopropyl alcohol (99% grade) or a lint-free cloth. Allow the solvent to evaporate completely for at least 30 seconds. For stubborn stains like grease or wax, use a specialized industrial cleaning agent.
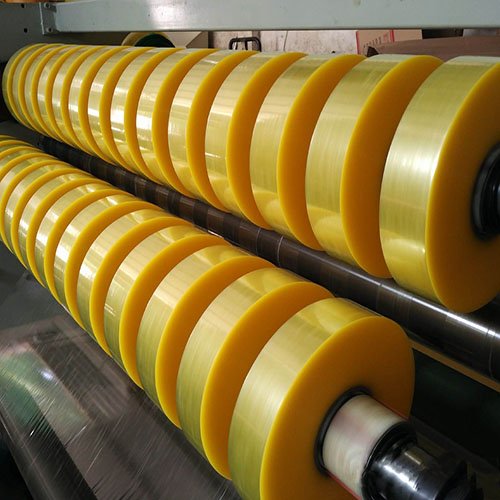
2. Mismatch Between Tape and Substrate
The Problem:
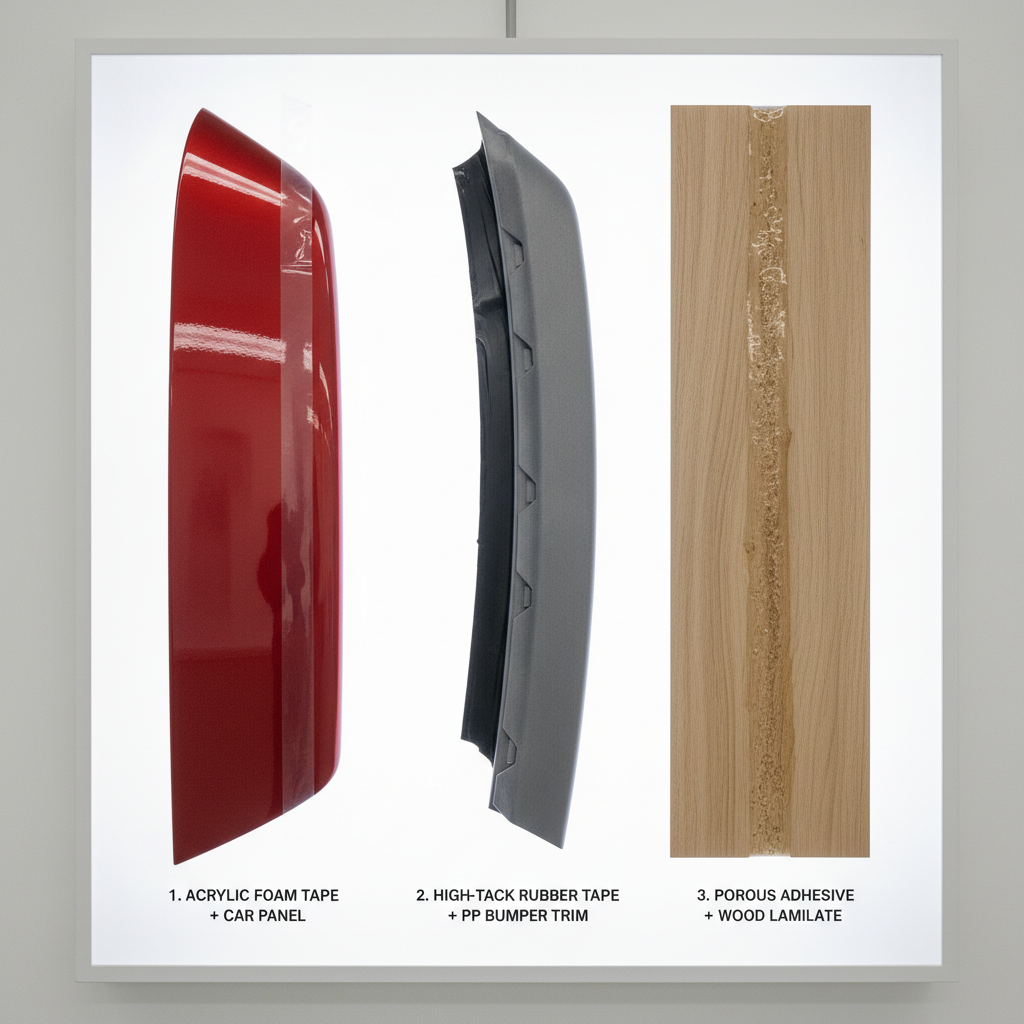
Different materials have different surface energies and textures. Smooth, high-surface-energy materials like glass and painted steel need acrylic foam tapes with strong initial tack and long-term durability. Low-surface-energy plastics (e.g., PP, PE) and porous surfaces like wood require aggressive, often rubber-based, adhesives that can wet-out or penetrate. Using the wrong tape guarantees failure.
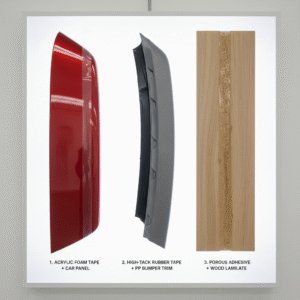
The Solution:
-
Smooth, High-Energy Surfaces: Use acrylic foam tapes (e.g., VHB™-type).
-
Rough or Low-Energy Surfaces: Opt for high-tack rubber-based or specially formulated acrylic tapes.
-
Plastic Surfaces: Choose tapes resistant to plasticizer migration.
3. Temperature Extremes
The Problem:
Standard acrylic tapes can soften, ooze, and lose adhesion in high temperatures. In low temperatures, they can become brittle and fracture under impact or flexing. A common failure is tape in an automotive engine bay delamininating during a hot summer day.
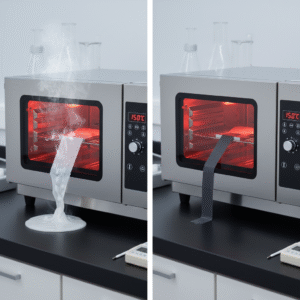
The Solution:
Select tapes suited to the operating temperature range:
-
Normal Environments: -20°C to 80°C (Standard Acrylics)
-
High-Temperature Environments: -40°C to 150°C (or higher) (Use certified High-Temperature Acrylics)
4. Insufficient or Improper Pressure
The Problem:
Adhesives require sufficient pressure to flow and create intimate contact with the substrate’s microscopic peaks and valleys. Light, fingertip pressure is often insufficient, leading to reduced contact area and weak bonds, evident by easy peel-off.
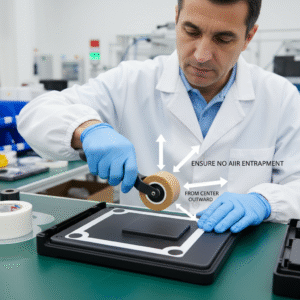
The Solution:
Use a firm rubber or silicone roller to apply a steady, even pressure of 2-3 kg per square centimeter. Always roll from the center outward to squeeze out air bubbles and ensure maximum surface contact.
5. Inadequate Curing Time
The Problem:
Adhesive bonds gain strength over time as the viscoelastic material flows and settles. Subjecting the bond to load, stress, or peel forces before it has fully cured can permanently damage the bond interface, leading to immediate or premature failure.

The Solution:
Allow a minimum of 24 hours for the tape to achieve full handling strength before subjecting it to its maximum operational load. Avoid any movement or exposure to moisture for the first 2-24 hours.
6. Incorrect Tape Thickness
The Problem:
A thin, hard-backed tape cannot conform to surface irregularities, leaving voids and minimal contact on a rough or curved surface. Conversely, using an excessively thick, soft foam tape on a perfectly flat, rigid joint can lead to poor shear strength and “shimmy” under load.
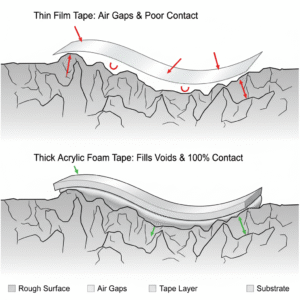
The Solution:
-
Flat, Rigid Surfaces: Choose thin, firm tapes (0.1-0.3mm)
-
Slightly Uneven or Curved Surfaces: Use conformable foam tapes (0.5-1.0mm)
-
Large Gaps or Highly Irregular Surfaces: Opt for very thick, highly compressible foam tapes (1.0-3.0mm)
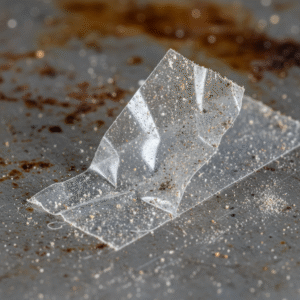
7. Improper Liner Removal
The Problem:
Jerking or pulling the liner at a shallow angle can stretch and microscopically damage the pre-cut tape. It also generates static electricity that attracts airborne dust onto the pristine adhesive. Fingers touching the adhesive transfer oils that compromise performance.
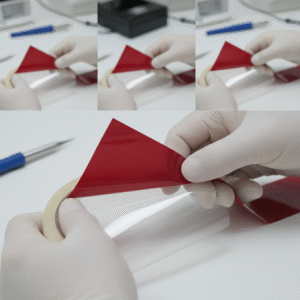
The Solution:
Fold a corner of the liner back on itself, then slowly and steadily peel it back at a 180-degree angle. Never let your fingers touch the adhesive. Use the liner itself or a release paper as a handle to position the tape before final application.
Professional Advice Summary
From my experience, solving tape failure requires a systematic approach: start with proper surface preparation, select the right tape type, and ensure correct application techniques.

If you’re still facing issues, don’t guess. Consult a professional die-cut tape manufacturer for a technical consultation. Reputable suppliers, like us at YXF Tape, offer free bond failure analysis and application engineering to help you find the optimal, cost-effective solution.
Remember, the right tape combined with proper application techniques will deliver reliable, long-lasting performance. Don’t let a small tape issue compromise your product’s quality, reputation, and your bottom line.